If you love telling tales of your mobile adventures with video, then maybe gifs are the way to go. 😉 This post shares some of the best (and easiest) ways to convert your videos and screenshots into animated gifs.
Isn’t it frustrating when you come across a video on social media and you want to share it with friends but can’t? Or wish that the video was a GIF so you could share it on social media, or email it to someone?
Want to record your screen, but don’t know how to convert it to gif?
Not anymore! With ScreenToGif you can do all of this and more. Simply record your screen as if you were making a video and ScreenToGif will turn it into an instant GIF. Share the final product
ScreenToGif makes it easy to take screenshots and create gifs of your favorite apps. Share them with your friends and family so they can see exactly what you’re seeing.
How ScreenToGif can Help You Create Engaging Content For Your Blog?
ScreenToGif allows you to capture the contents of your smartphone or tablet’s screen and turn it into a shareable gif in just a few seconds. It is a simple, straightforward application that does exactly what it says. You can use this to make gifs for emails, messages, blog posts, tweets, or anything else you can think of. It’s also an excellent way for developers and marketers to showcase their UI/UX designs or demonstrate how something works.
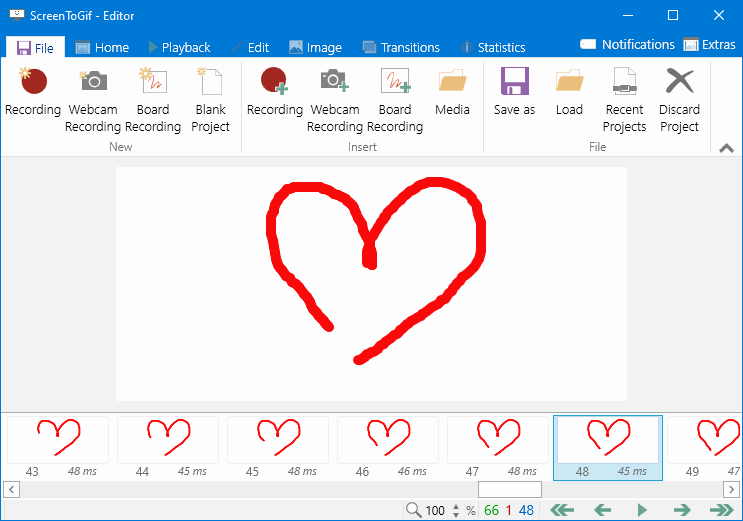
ScreenToGif is a video maker app that helps you create animated videos for your blog. It has a simple and intuitive interface, which makes it easy to use for both beginners and professionals.
ScreenToGif is an excellent tool for bloggers because it allows them to create engaging content that engages the readers. They can also add text, images or links to the videos they make with this app. ScreenToGif is a powerful new tool that empowers bloggers to do more with their screen captures. Engaging captions, animated gifs, and other creative uses are now possible with ScreenToGif’s new features.
If you’re looking for a new way to create engaging content for your blog, you need to try ScreenToGif.
ScreenToGif is a free and open-source screen recording and gif-making tool for Windows. It allows users to capture their screen and save the recorded footage as a gif, video, or image sequence.
One of the standout features of ScreenToGif is its ease of use. The software has a simple and intuitive interface that is easy to navigate, with all of the tools and features you need clearly laid out. It also includes a range of helpful tutorials and guides to help you get started with screen recording and gif-making, even if you have no prior experience.
In terms of features, ScreenToGif has everything you need to create high-quality screen recordings and gifs. It allows you to record your screen in full screen or windowed mode, and you can choose to record audio from your system or microphone. It also includes a range of editing tools that allow you to trim and cut your recordings, add annotations and effects, and more.
One of the great things about ScreenToGif is that it is constantly being updated and improved. The software has an active community of developers and users who contribute to the project, so you can be sure you are always using the latest and most advanced version of the software.
Overall, ScreenToGif is a fantastic screen recording and gif-making tool that is suitable for users of all levels. Whether you’re a beginner looking to learn the basics of screen recording or an advanced user looking for a powerful and feature-rich software, ScreenToGif is a great choice. So, it is definitely worth giving it a try.
How to use ScreenToGift
Using ScreenToGif is a straightforward process that even beginners can easily learn. Here’s a step-by-step guide on how to use the software:
- Download and install ScreenToGif on your computer.
- Open the software and click on the “Recorder” tab.
- Select the area of your screen that you want to record. You can choose to record the entire screen, a specific window, or a specific region.
- Click on the “Start Rec” button to begin recording. A countdown will appear, and the recording will start after the countdown finishes.
- To stop the recording, click on the “Stop Rec” button or press the designated hotkey (Ctrl+Shift+R by default).
- The recorded footage will appear in the editor window. You can use the trim and cut tools to remove any unwanted footage.
- To add annotations or effects to your recording, click on the “Edit” tab and use the tools and features available.
- To save your recording as a gif, video, or image sequence, click on the “Save As” button and select your desired output format.
- In the save window, select your desired output settings and click on the “Save” button to save your recording.
Using ScreenToGif is a straightforward process that even beginners can easily learn. With a little practice, you should be able to create high-quality screen recordings and gifs with eas
Here is full tutorial how to use.